Choose a Page Layout: Start by selecting a page layout for your document. You can choose from predefined layouts like portrait or landscape, margins, and page size.
Set up Page Margins: Go to the Page Layout tab, and under the Page Setup section, click on the Margins option. You can choose from predefined margin options or create your custom margins.
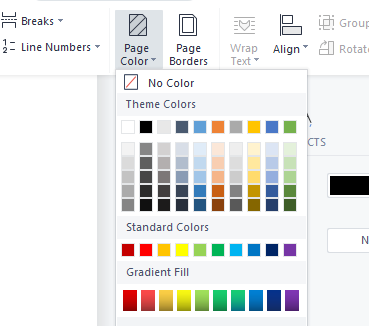
Select a Page Background: To add a background color or image to your document, go to the Page Layout tab, and under the Page Background section, select either Watermark or Page Color.
Apply a Document Theme: Themes give your document a consistent and professional look by applying a set of font styles, colors, and effects. Go to the Design tab, and select a theme from the Themes gallery.
Format Text: You can format text by applying font styles, such as bold, italic, underline, and more. You can also change the font size, color, and typeface.
Use Headings and Styles: To organize your content and make it easier to read, use headings and styles. Go to the Home tab, and under the Styles section, select a heading style or apply your custom style.
Insert and Format Tables: To insert a table, go to the Insert tab, and select the Table option. You can format tables by adjusting border styles, cell padding, and more.
Insert and Format Images: To insert an image, go to the Insert tab, and select the Picture option. You can format images by adjusting size, position, and adding borders and effects.
Add Page Numbers: To add page numbers to your document, go to the Insert tab, and select the Page Number option. You can choose from different page number formats and positions.
Preview and Print: Finally, preview your document to make sure it looks the way you want it to. Go to the File tab, and select the Print option to print your document.
Remember, formatting a word document can greatly impact its readability and professional appearance, so take the time to make it look the way you want it to.